How to Access and Navigate the PqW Interface
Learn how to effectively navigate the PqW interface for a seamless user experience and enhanced productivity.

Introduction
StrataVAR Partner Quoting Workspace (PqW) runs within Salesforce and is opened from your org — whether you work in your own Salesforce org or use the embedded version. This article explains:
- How to access PqW for new and existing quotes
- Where PqW fits within the quoting flow
- How to find your way around the main sections of the PqW console once it is launched
This article does not cover how to perform quoting actions such as importing BoMs, editing pricing, or exporting quotes. Those tasks are explained in separate, focused articles, which are linked where relevant.
A quick note on terminology:
Throughout these articles, PqW refers to the whole solution — the Salesforce screens where you manage accounts, import BoMs, and generate quote records, plus the dedicated build surface. The PqW console is that dedicated surface: the place where you assemble and edit imported BoMs into a customer-ready quote. When you read "the console," picture the focused quote-building screen — not the surrounding Salesforce pages.
Which version are you using?
PqW serves two groups of users: those working in their own Salesforce org, and those using the embedded Salesforce version. The quoting flow is the same for both — the main difference is where you start. Salesforce users import BoMs and create quotes from the Opportunities tab, while embedded users do this from the Projects tab. This difference is called out at the relevant step below.
Where PqW Fits in the Salesforce Quoting Flow
Within your sales process, Salesforce holds the customer records — Accounts, the deal record (an Opportunity, or a Project in the embedded version), and Customer Quotes — while PqW is where you review, assemble, and price the BoMs that go into a quote.
It helps to keep two layers in mind:
- PqW — the application as a whole, including the Salesforce screens where you manage accounts, import BoMs, and generate quote records.
- The PqW console — the dedicated surface within PqW where you assemble and edit imported BoMs into a customer-ready quote.
You open PqW once and spend most of your hands-on quoting time in the console. Because the console works on a quote, it opens only after a Customer Quote exists — not directly from the App Launcher. The sections below walk through opening PqW and reaching the console for both new and existing quotes.
Launching PqW
The following steps are required to launch PqW in your Salesforce org after the admin completes installation and setup.
-
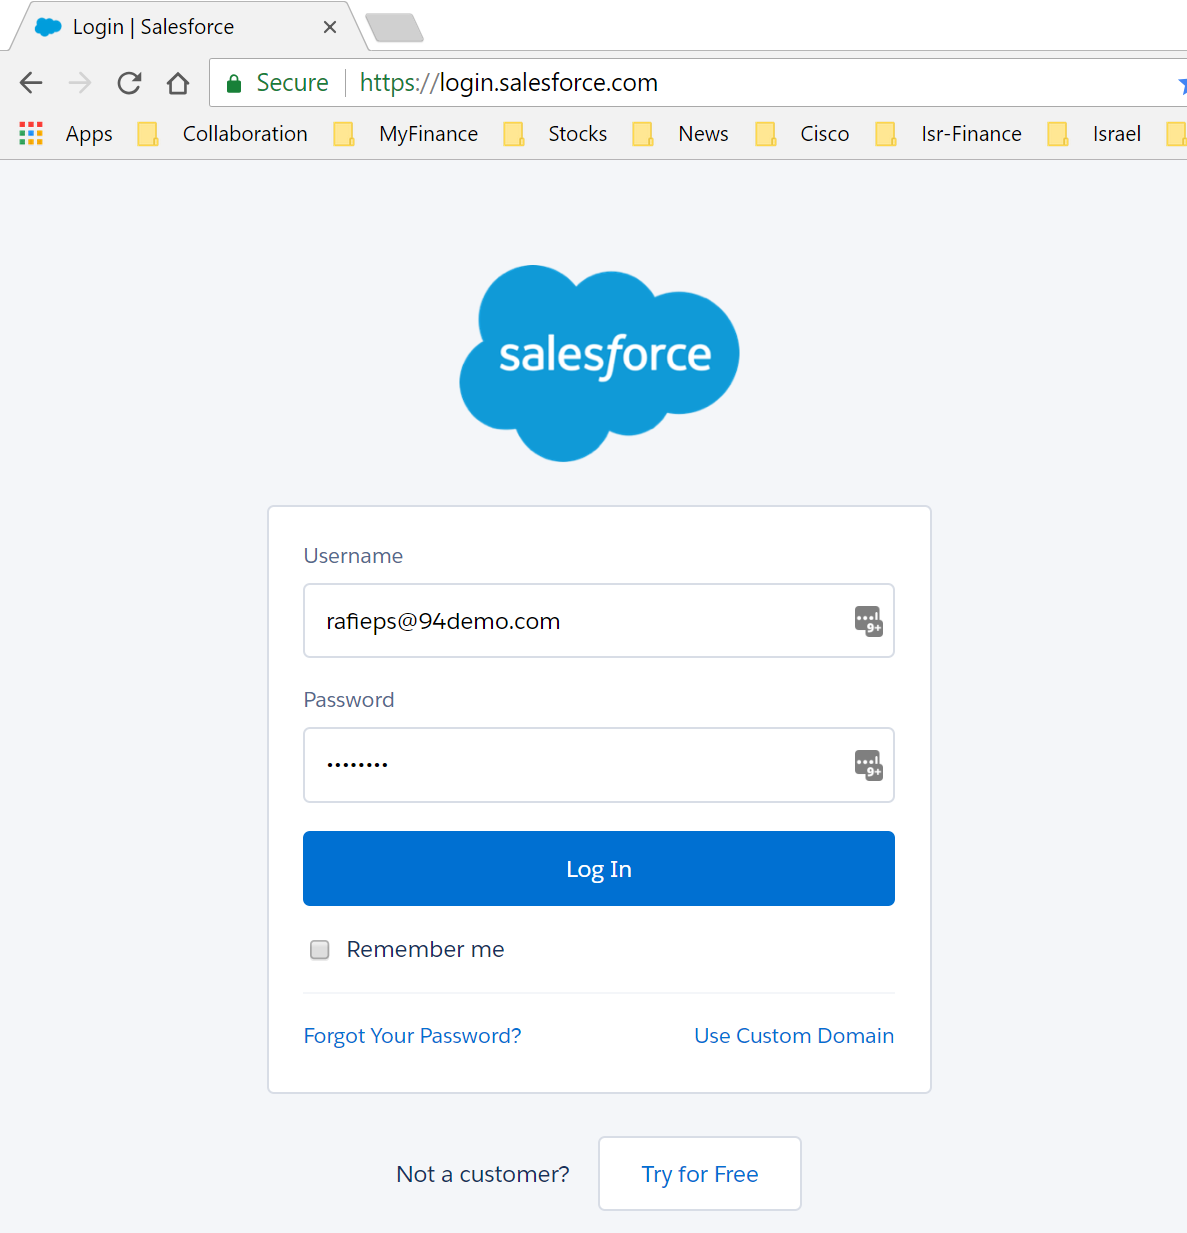
Log in to your org using your assigned credentials.
-
Click the
 icon (9 dots menu) at the top left of the window to access the list of applications available. Here, you can look into the list of applications displayed or type StrataVAR/PqW in the search box.
-
Alternatively, you can click on the View All option in the dropdown from the App launcher, select StrataVAR PqW listing as shown in the screenshot.

This will launch the PqW application in the org.
Accessing PqW Console for a New Quote Assembly
Once you are logged in to the Salesforce org and have launched PqW, use this path when creating a quote for a new customer purchase requirement.
Step 1: Create a New Account or Select an Account
-
Navigate to the relevant Account representing the customer through the Accounts List View.


-
If the customer is new and not mapped to an existing Account, create one using the New button, following your organization's Salesforce process.

Step 2: Create or Select an Opportunity
Under the Account, create or select an Opportunity that represents the customer’s purchase need or deal. The Opportunity provides the commercial context for the quote.
Step 3: Import Vendor Data (Bills of Materials)
On the Opportunity detail page, click Import BoM and complete the import by filling in the details as required. For full instructions on the available import methods and formats, see Overview: PqW BoM Import Methods.

Using the embedded version? You'll work from the Projects tab instead of Opportunities — import the BoM and create the quote there. From that point on, every step below is identical.
Step 4: Create a Customer Quote
- When the BoM is imported, a BoM record is created within the opportunity.
-
From the BoM details page, create a customer quote by clicking on the button Create New Quote. This will create an empty quote that acts as a container for adding BoMs or BoM items, editing, and processing the quote.

-
A new quote is automatically generated with basic details as shown in the following screenshot.

-
Alternatively, you can also generate a blank customer quote using the Create New Quote button in the Opportunity page. At this stage, the quote does not yet contain BoM items.

- Clicking the button automatically generates an empty customer quote. The customer quote acts as the parent record that will hold:
- BoMs
- Quote items
- Pricing and margin calculations
Step 5: Launch PqW Console for Quote Assembly
From the newly generated Quote record, click the Copy BoMs to Quote option in the action dropdown menu. This action launches the PqW Console, where you can begin working with multiple BoMs for a given account/opportunity and assemble the quote to share with the customer. 

Note:
The PqW Console for assembling and editing a quote launches only after a Customer Quote exists. It is not accessed directly from the Salesforce app menu.
Accessing PqW Console for an Existing Quote
Use this path when working on an existing quote.
-
Log in to Salesforce as usual using your credentials.
-
Go to the Quotes list view to locate the existing quote. You can use Quote list view filters or search to find the required quote.

-
Click the hyperlinked Quote Number to open its detail page.

From the quote record, you can:
- Click Edit Quote to modify existing quote content, or
- Click Copy BoMs to Quote to rework or add BoMs.
Either action opens the PqW console for that quote.

The PqW Console at a Glance
Once PqW is launched, you enter a dedicated quoting workspace.
At a high level, the PqW interface includes:
- BoM Selection Area: Displays available BoMs associated with the Opportunity or imported into the system.
- Quote Workspace: Displays the Customer Quote created after importing BoM, where BoMs or BoM items are added, grouped, and priced.
- Action Toolbar: Provides access to quote-level actions such as recalculation, validation, and navigation to summary views.
The exact actions and options available may vary based on:
- Your role and permissions
- The type of quote being worked on
- Enabled modules and vendor integrations

Navigating Between PqW Console Sections
Navigation within PqW is designed to support a guided quoting flow:
- You typically start by reviewing available BoMs in the Select BoM tab in PqW console.
- For adding all the items in a BoM, select the BoM and click on the Quick Add to Quote button.
- For adding only certain items from the BoM, go to the Copy BoM items tab
- BoMs or selected items are then added to the Customer Quote.
- From the Edit Quote tab, users proceed to pricing, validation, and export steps.
Navigation is primarily driven by:
- Action buttons within the PqW interface
- Contextual actions on the Quote or BoM views
- Detailed navigation steps are covered in subsequent articles.
Summary
Following the steps above, users can reliably launch the PqW and edit, update, and process quotes.
What’s Next?
After launching and navigating PqW, you can proceed to:
- Understanding the PqW Console- A full walkthrough of assembling, editing, and exporting your quote.
- Overview: PqW BoM Import Methods- How to bring vendor BoMs into PqW.
- How to Create a Customer Quote- The detailed steps for creating a quote before or after import.
Each of these articles provides step-by-step guidance for specific actions within the PqW workflow.
In this article
- Introduction
- Where PqW Fits in the Salesforce Quoting Flow
- Launching PqW
- Accessing PqW Console for a New Quote Assembly
- Step 1: Create a New Account or Select an Account
- Step 2: Create or Select an Opportunity
- Step 3: Import Vendor Data (Bills of Materials)
- Step 4: Create a Customer Quote
- Step 5: Launch PqW Console for Quote Assembly
- Accessing PqW Console for an Existing Quote
- The PqW Console at a Glance
- Navigating Between PqW Console Sections
- Summary
- What’s Next?
